Screenshot is a great way to capture things that happen in real time, like an error message or conversation with your friends.
It’s also possible you might need them for work! If someone tells me about an important issue happening on their computer I can take screen shots so they don’t forget about it later. Later, send those screenshots over as proof of what happened.
SCREENSHOTS ON A MAC
With the latest updates to macOS, a screenshot is taken with just one keystroke. You can now capture your screen or any window that you want through Screenshot app and have it saved automatically on either disk without having do anything else!
The options available under this new feature include:
- taking screenshots of all areas in Full HD (1:1),
- selecting parts of windows for particular purposes like emailing some information while keeping others out,
- saving videos so they’re easier than scrolling up them by hand later if need be.
These are saved as QuickTime movies which means there will never again come an inconvenient time when we needed footage from hours ago. It is because our video editing software was unable save files fast enough before something happened.
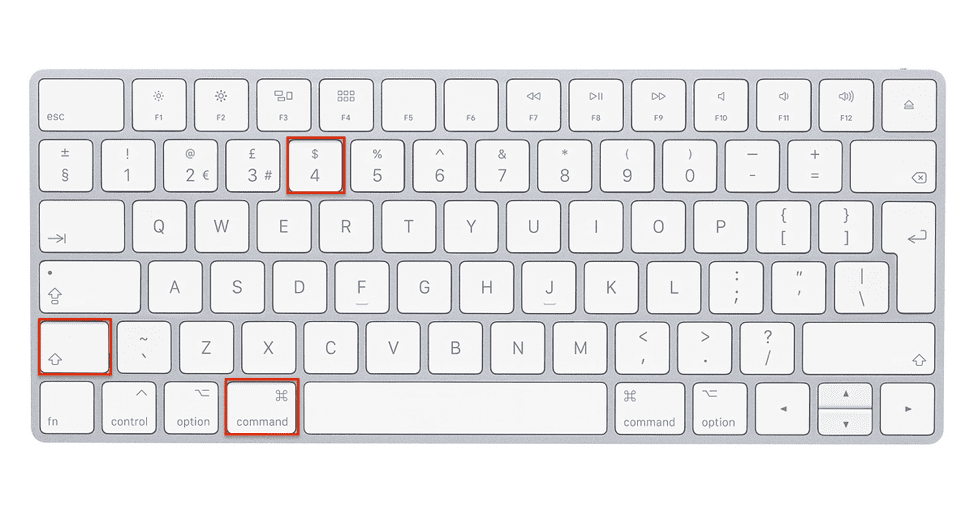
There are a few ways to take screenshots in Mojave or Catalina. You can press Shift-Command-3 to capture the entire screen, and then click on any point of interest with Spacebar.
Also, using Command+4 for certain windows. However if you want only an image from part of your monitor rather than capturing its whole contents this way too will work wonders!
Simply hold down both mouse buttons while pressing 4 (or whichever key corresponding) at which time cursor changes into camera mode.
It’s just like taking pictures except there’ no shutter sound due instead we hear ‘click.’ Point where desired area should be captured.
SCREENSHOTS ON A WINDOWS 10 PC

Depending on your computer, you can take a screenshot by pressing the Windows logo key simultaneously with PrtScrn (or PrtSc) and one of its corresponding F keys.
If that doesn’t work for some reason try adding another key like Ctrl or Fn to make sure it saves as an image in Pictures > Screenshots folder under PNG format.
So, if you find yourself at a loss for how to get that perfect screenshot of something interesting happening on your screen—you don’t need any more trouble.
All it takes is one extra button press: Windows+Shift+= Screenshot! The process couldn’t be easier and doesn’t require installing third-party software like Snip & Sketch (or half the time I tried this in hopes there’d finally be an easy way).
Snipping tool is one of the many tools available in Windows 10, and it can be accessed by typing “snip” into Cortana, or through pressing Control+Shift while focusing on an object you want to clip.
You can, if you want, make the PrtSc key bring up Snip & Sketch when pressed. Go to your computer’s settings by selecting Start from the lower left corner and then clicking on “gear” icon which appears next to it.
In search box just below word Windows Settings page name type “prtscn.” Somewhere around t letter of that dropdown menu will show a selection reading Use Print Screen key for launching screen capture app.
Now look over Keyboard options where there should be an entry called ‘Print.
SCREENSHOTS ON AN ANDROID PHONE
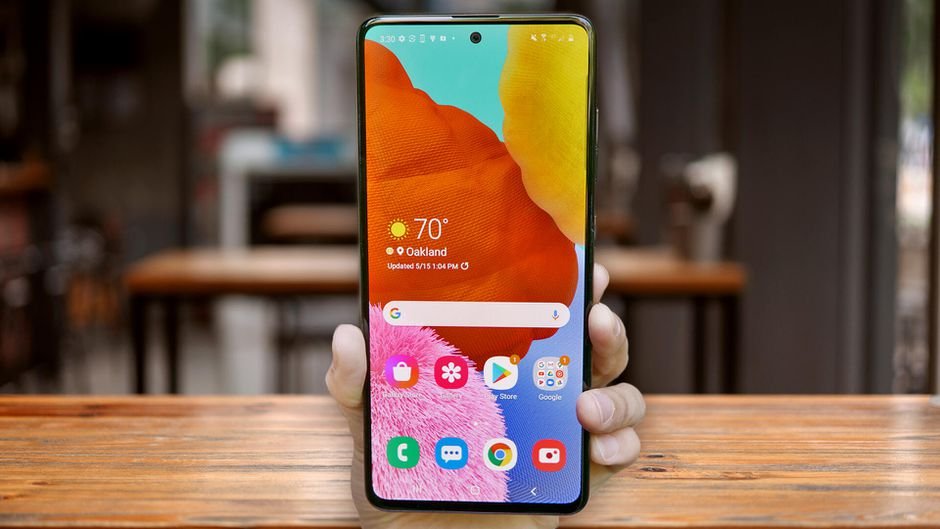
Taking screenshots in Android 9 and 10 is easy. If you have the pop-out window on your screen, hold down both power buttons at once for a second or two until it pops up then press Volume Down when highlighted to take an action of your choice: screenshot (or just turn off) with 1 option; restart phone 2 options available.
If you have a way with Android phones, there are some that let users take “long” screenshots and capture the entire page. It can be handy if your screen is too small for what’s happening in an app or game!
Take note: Some Samsung devices allow scrolling on long captures; check out its support pages before using this feature so as not to cause any issues on future updates.
If you want to find all your past screenshots:
- Go to your Photos app.
- Tap on the three parallel lines in the top left corner.
- Select “Device folders” > “Screenshots.”
SCREENSHOTS ON AN iPHONE

Taking a screenshot on an iPhone is so simple and straightforward, it’s hard to believe how many people don’t know about this feature.
Press down the side button with one finger while holding both volume buttons in at once (or press Side + Home). You’ll get what looks like a thumbnail picture of whatever you’re capturing; tap through any editing options before saving as desired by tapping “Done” in upper left corner when finished taking captures (you can also delete images directly off your device if needed).
How to save a screenshot as JPEG.
Macs are known for their high-quality graphics, and the PNG format is no exception. The large file size means that you’ll lose some detail when compressing it onto a phone or tablet – but if quality matters most to your work then this should never be an issue!
Apple has removed a really simple way to save screenshots as JPEG or TIFF files in the latest update. The easiest way I found is by opening it with an app like Photos, Preview or Photoshop and saving straight from there!
If you’re feeling confident enough, it’s possible to make a change in Terminal so that your Mac always saves screenshots as .jpg files for example.
- To open the terminal, press space + command and start typing.
- To take a screenshot with the native Screencapture app on your Mac, just open it and press Volume + Shift Keys at same time. This will save an image that is saved in JPEG format by default (and can be edited later). You’ll need to restart before these changes are enabled though!
Also Read: The 5 Best Mac Screen Recorders for Zoom Meetings
FAQ’s on How to Take a Screenshot on a Mac and Other Devices?
[sc_fs_multi_faq headline-0=”h2″ question-0=”How do I take a screenshot of a different device?” answer-0=”Select the section of the screen you want to capture. To capture a specific window, use Command + Shift + 5 (yes, the same shortcut to trigger the screenshot tool). Then hit the space bar to switch between capturing a section of screen and a specific window.” image-0=”” headline-1=”h2″ question-1=”How do you capture a screen on a Mac?” answer-1=”1. To take a screenshot, press and hold these three keys together: Shift, Command, and 3. 2. If you see a thumbnail in the corner of your screen, click it to edit the screenshot. Or wait for the screenshot to save to your desktop.” image-1=”” headline-2=”h2″ question-2=”How do you screenshot without using the power button?” answer-2=”To take a screenshot without the power button on Android, open Google Assistant and say “Take a screenshot”. It’ll automatically snap your screen and open the share sheet straightaway.” image-2=”” headline-3=”h2″ question-3=”How do I take a screenshot without pressing the buttons?” answer-3=”Begin by heading over to the screen or app on your Android that you want to take a screen of. To trigger the Now on Tap screen ( a feature that allows button-less screenshot) press and hold the home button. Once you see the Now on Tap screen slide up from the bottom, let go of the home button on your Android device.” image-3=”” headline-4=”h2″ question-4=”How do you take a screenshot of your computer screen?” answer-4=”Launch the screen that you want to capture and then press the PrintScreen button on your keyboard. This will copy the screen to the clipboard. Now press Ctrl + S in order to save your newly captured high-resolution screenshot in Windows 10.” image-4=”” count=”5″ html=”true” css_class=””]
Conclusion
I hope you all must have understood how to take a screenshot on a Mac. Also, I have shared tips to take screenshot on a Windows PC, Android and iPhone.


![TablePlus Review [year]: Features, Pricing, Pros & Cons](https://myappleguide.b-cdn.net/wp-content/uploads/2025/07/TablePlus-Review-Features-Pricing-Pros-Cons-150x150.webp)