If you would like to grow your business globally, you need a custom domain email address. If you don’t know how to do it, read this tutorial. In this tutorial, I will explain to you how you can create a custom domain email address via SeekaHost.app control panel. You can then configure the email on your Apple iPhone.
In this article, you will find all the answers to why you need a domain email and the steps to configure it.
Reasons to Choose a Custom Domain Email Address
Many times, your email account must have been bombarded with unknown emails. Do you open such emails?
No, you don’t because these are spam emails. In the same way, even your emails might be landing in the spam folder.
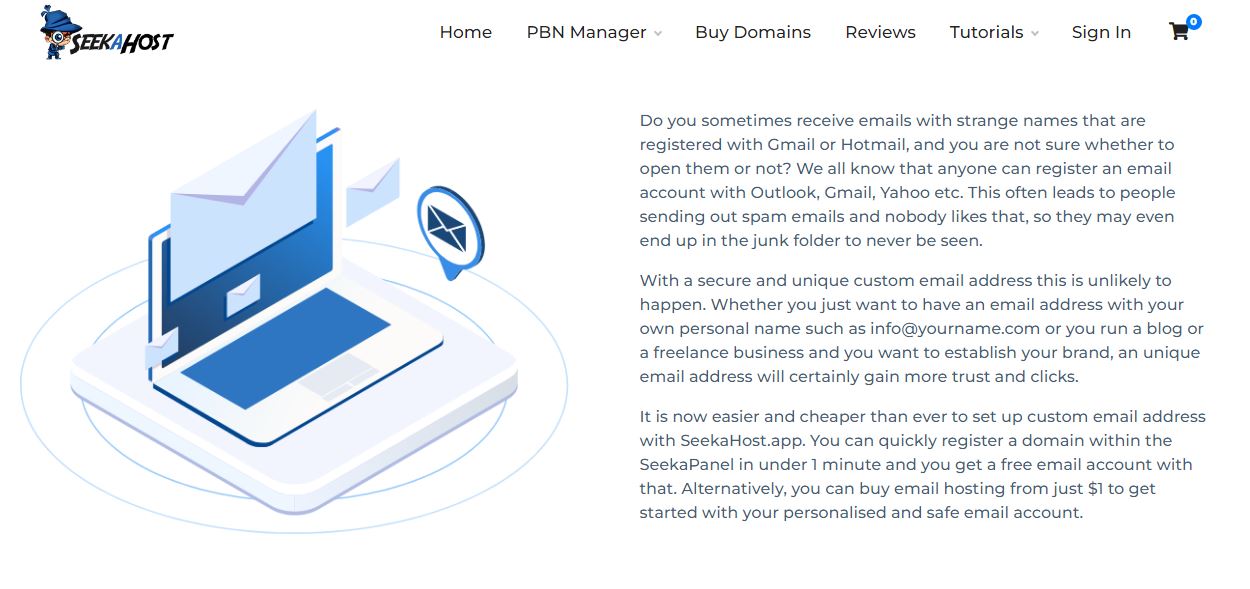
If you don’t want your emails to land in spam, then you need a domain email address.
A business email created for your domain gives complete authentication. This ensures your emails don’t land in the spam box.
Also, your potential customers will recognize you and won’t delete your emails without even opening them.
If you want to make your brand identity with a business email, then register a domain at SeekaHost.app, and buy a business email. At SeekaHost.app, you can buy email hosting at $1 per month and set up your custom domain email address.
Next, I will show you the steps to create a domain-specific email via SeekaHost.app control panel.
How to create a custom domain email address via SeekaHost.app?
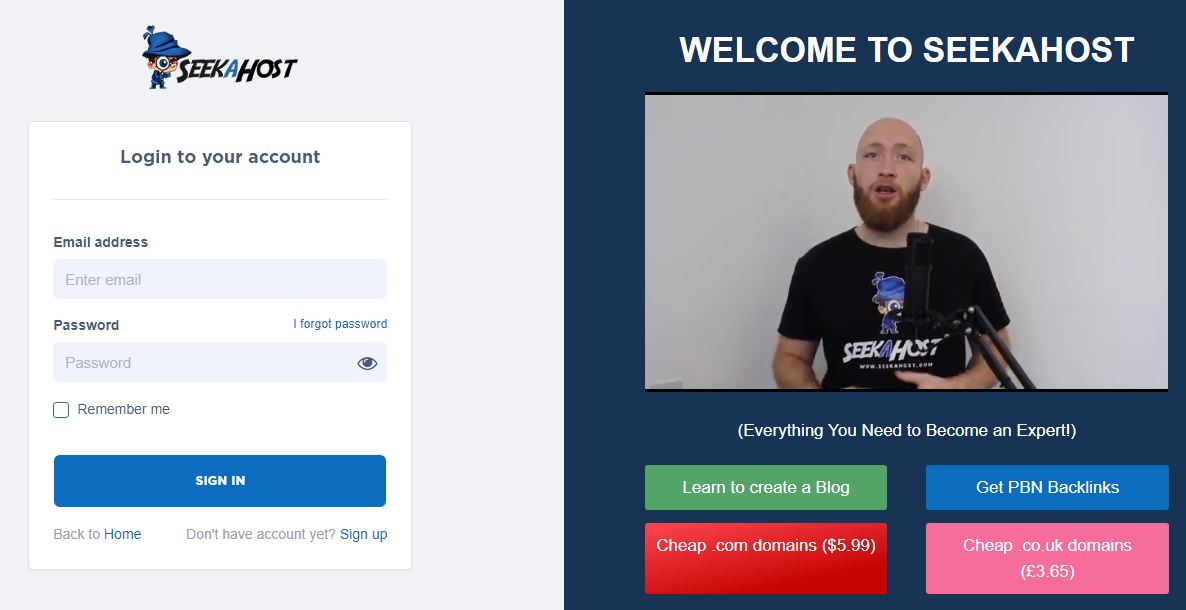
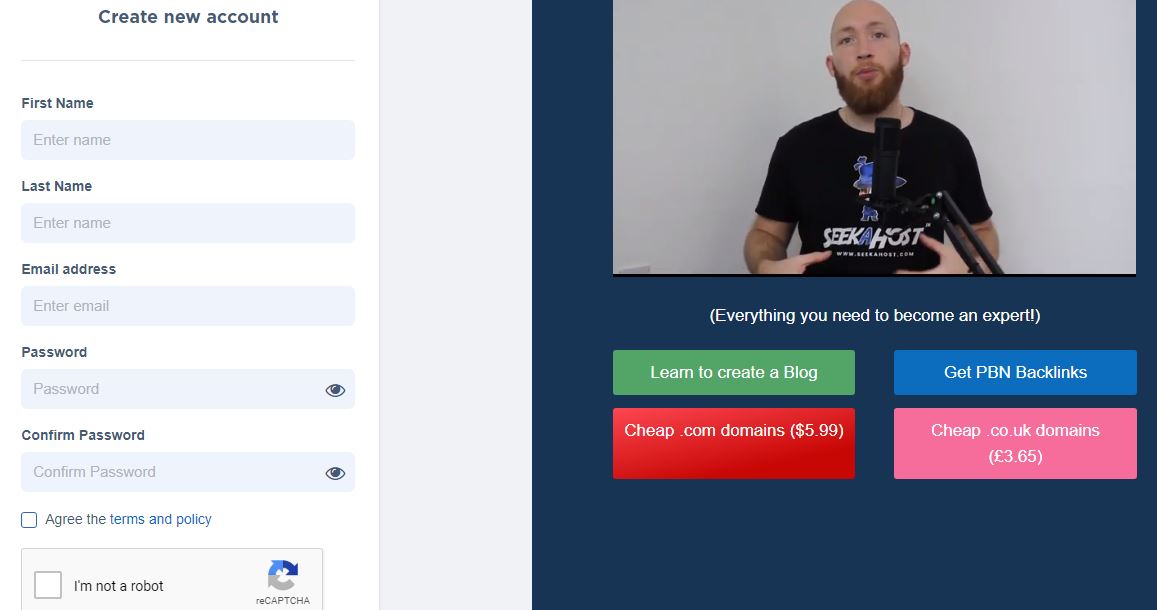
The very first step is to create your account by choosing a plan. So choose a plan and click on Get Started. Click on Sign up as you are not yet registered on SeekaHost.
To register your free account, enter your name, and email and set a password. When you are done with the signup, check your email for a verification link. Verify your email to continue using SeekaHost.app services.
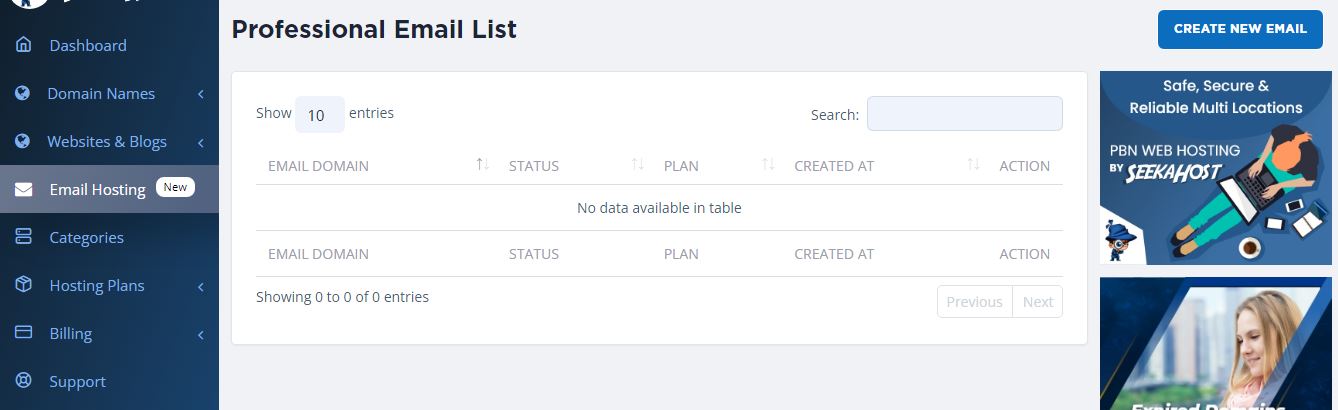
Once logged into the SeekaPanel, go to Email Hosting. Click on Create new email button on the top right corner.
There will be different email hosting plans to choose from. You can start with $1/month which is the cheapest email hosting plan.
Simply enter your native address by choosing the country. Click on Continue to Subscribe.
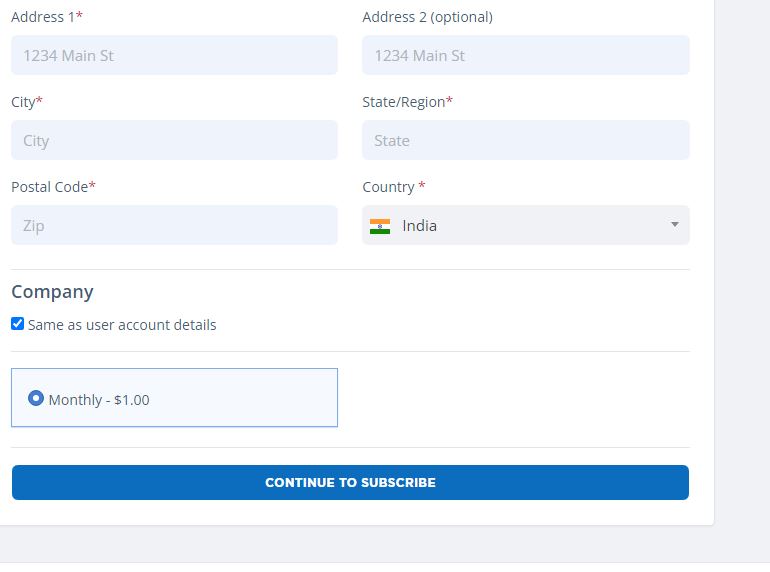
You can continue with the payment by choosing either PayPal or credit card. Choose any one and click on Order Now.
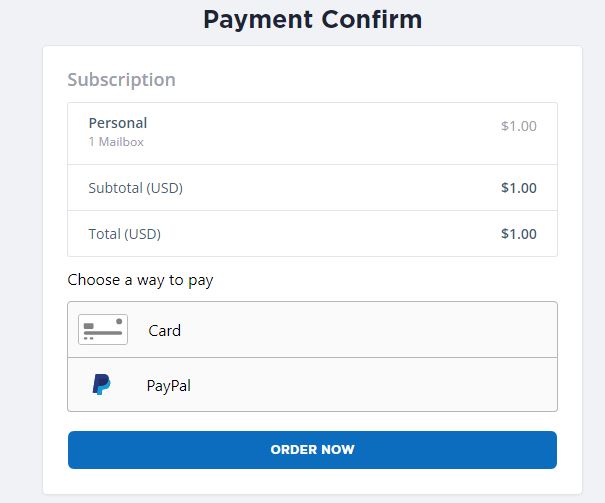
You have the order completed. You can check your email for the order confirmation.
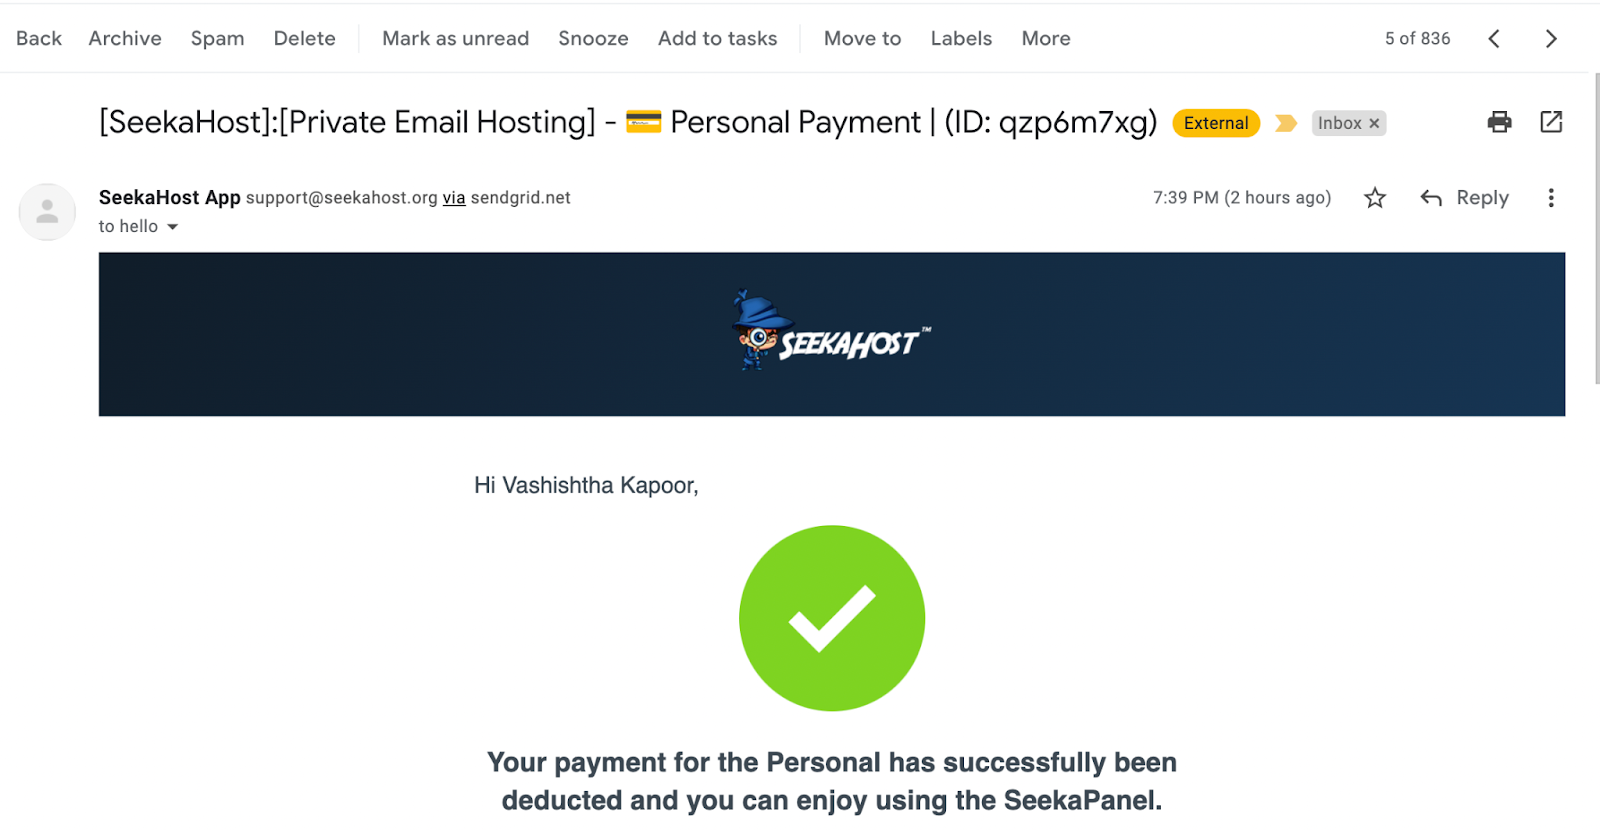
Now you can proceed with the custom domain email configuration.
How To Set up a Custom Email Address with SeekaPanel?
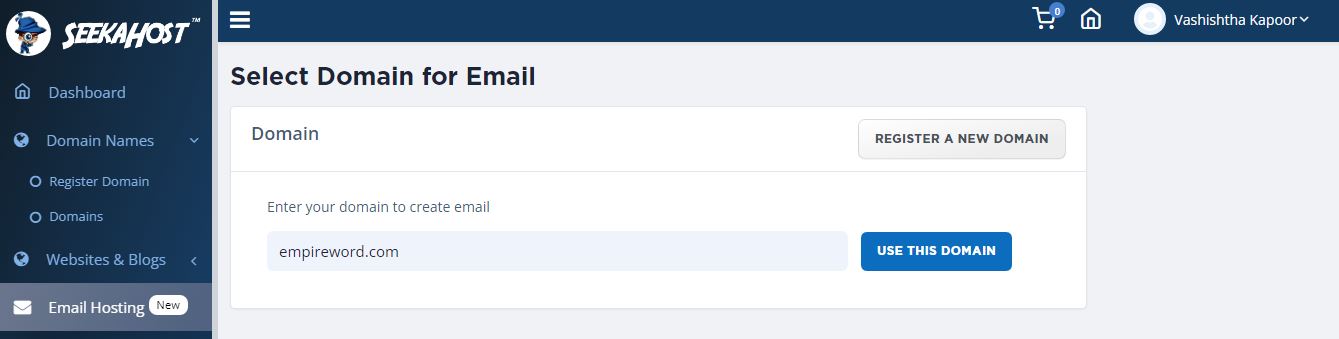
Now that you have an email hosting plan, you can start creating a domain email address. Go to Email Hosting, click on Create New Email, and choose the domain.
In this tutorial, I am using an already registered domain at SeekaHost.
So choose the domain and click on Use This Domain.
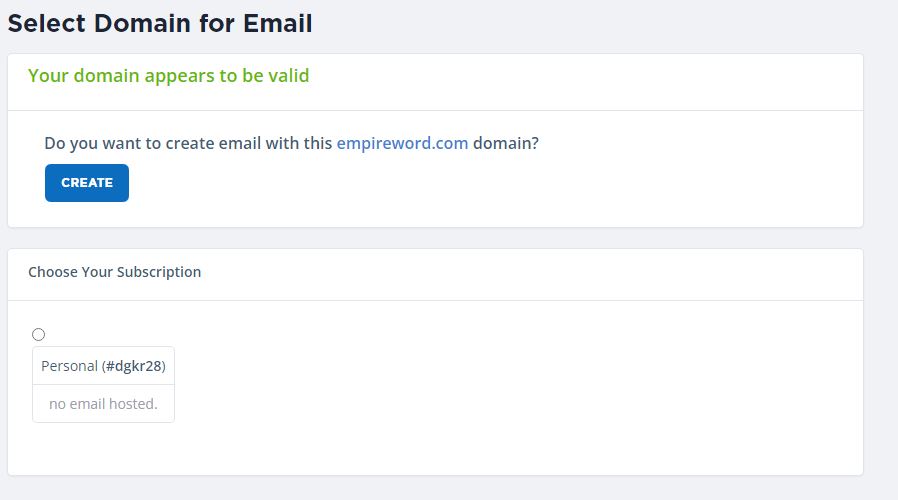
Choose the subscription model and click on Create.
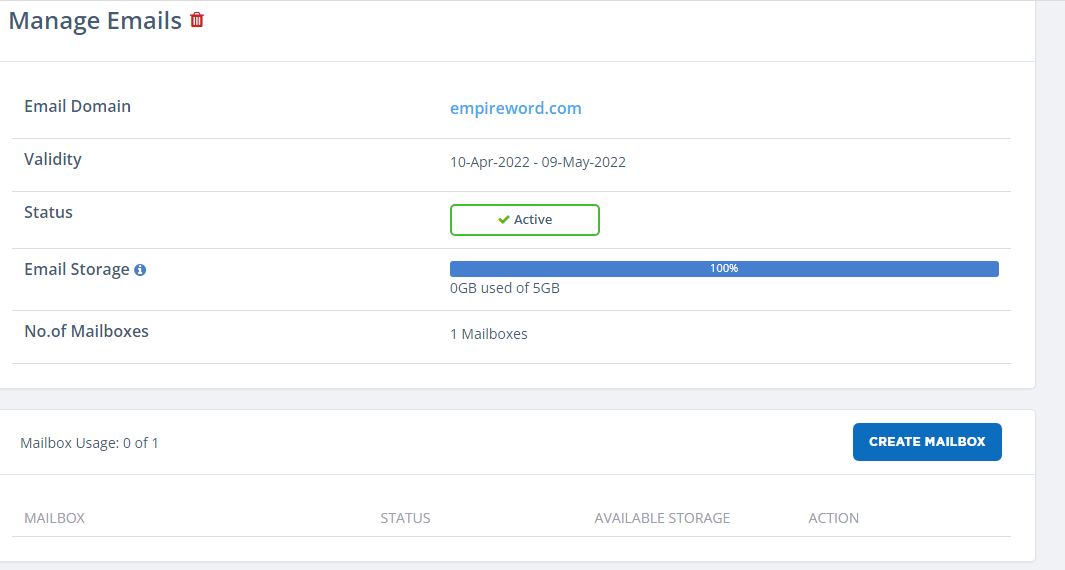
In a few clicks, you got your email address for your domain created. You can see that your email is now active.
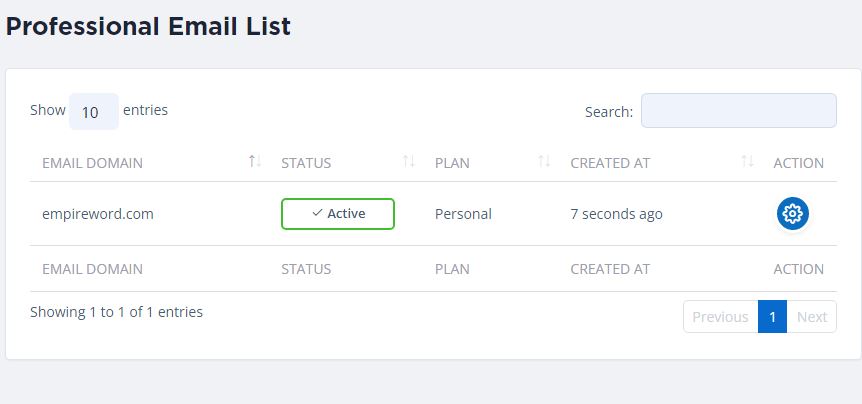
Do check your email once again and you will find the domain creation confirmation.

Now you need to Create a Mailbox, so click on the Action button next to your domain and click on create the mailbox.
You can now set a custom email address like hello@empireword.com and also set a password.

Your mailbox just got created in one click.
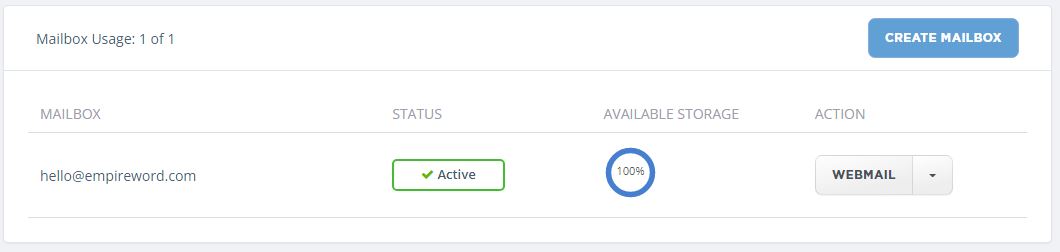
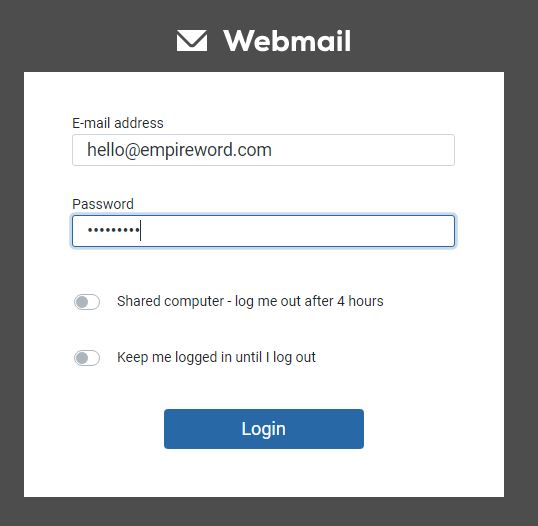
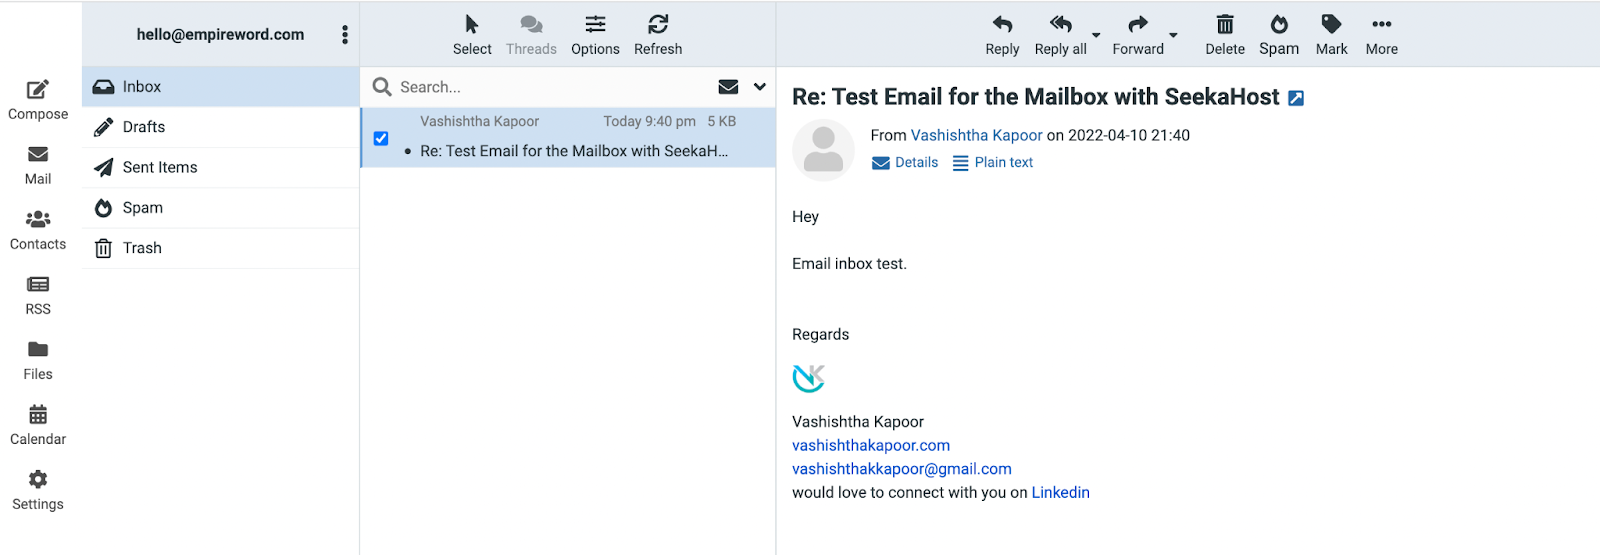
You can now access your webmail by entering the email you created and password you had set.
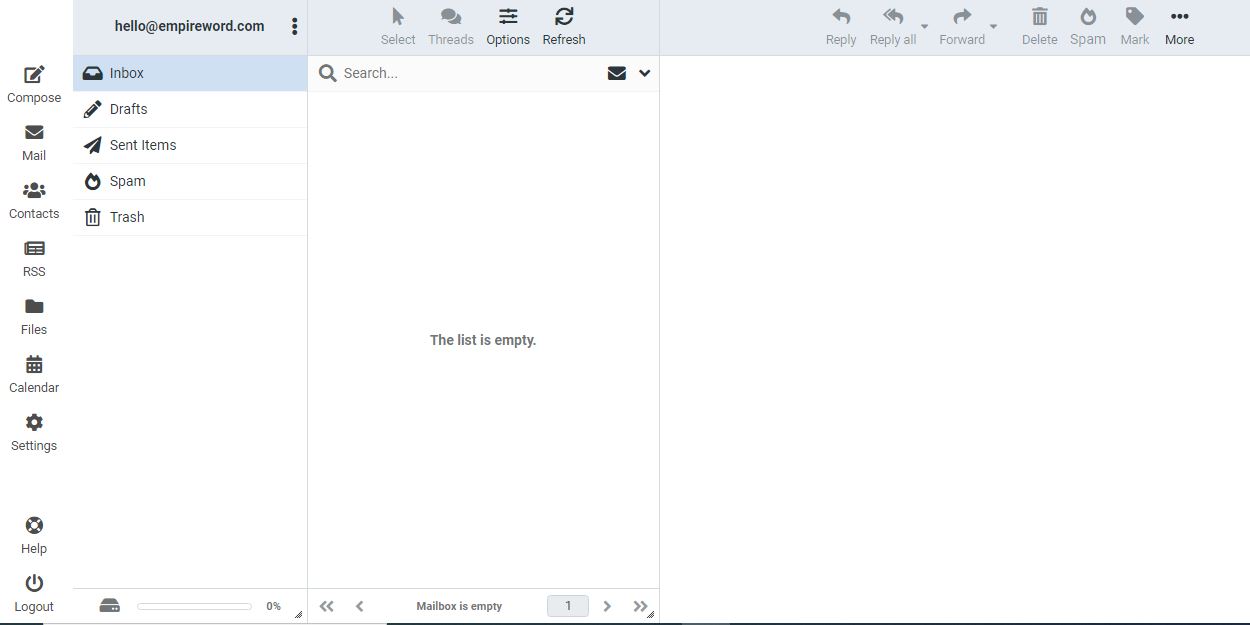
SeekaHost.app offers an intuitive and easy-to-use email account. As you can see it looks simpler and everything is clutter-free.
There are a few more steps left before you start shooting emails. You need to set up the MX records.
Go to Domains and then click on the Action button. In the Domain settings, you will find DNS management, so click on the Enable button.

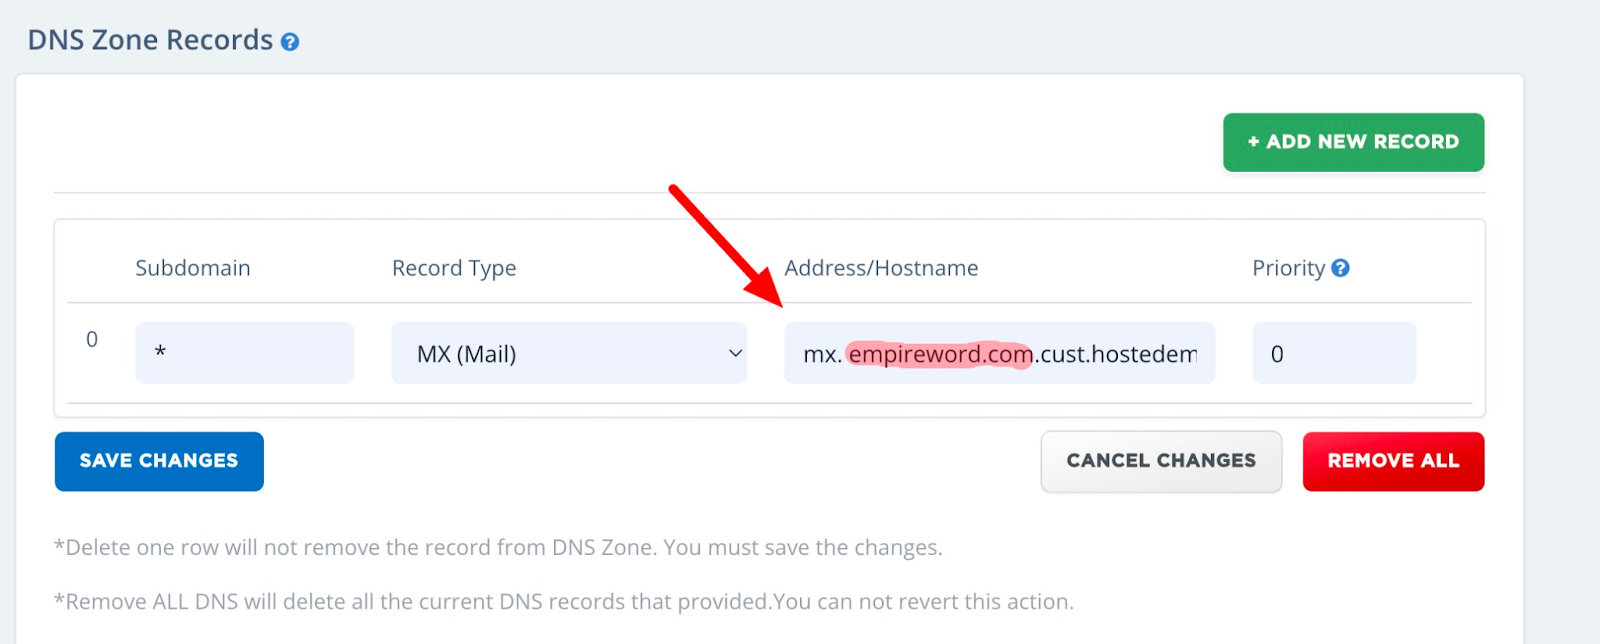
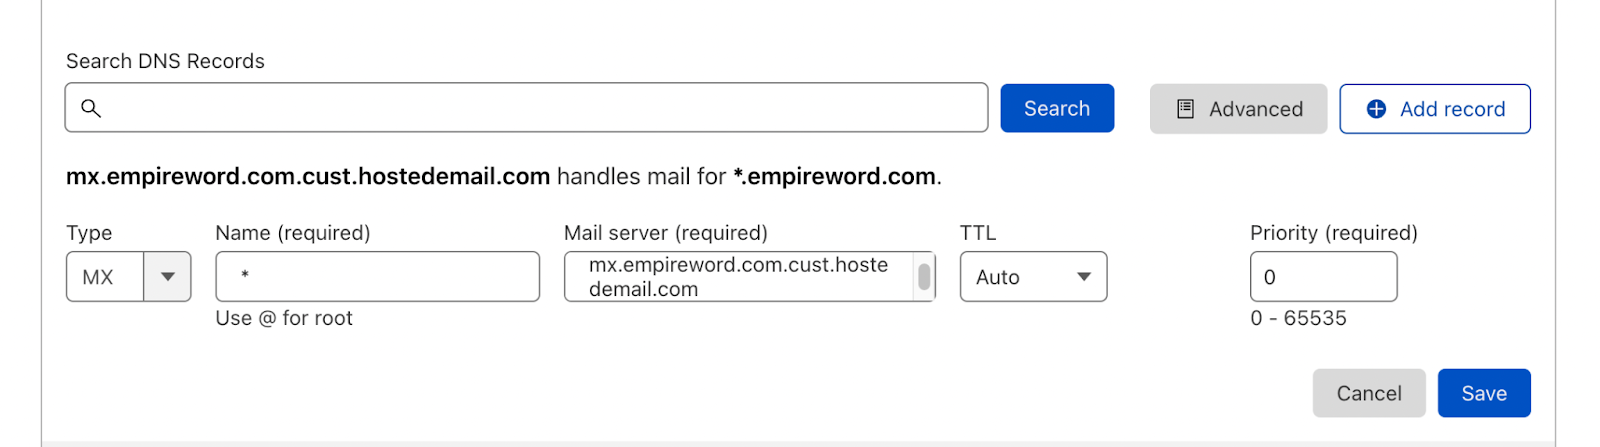
Once enabled, you can configure the MX records by choosing Record Type as MX, enter the address, and set the priority to 0.
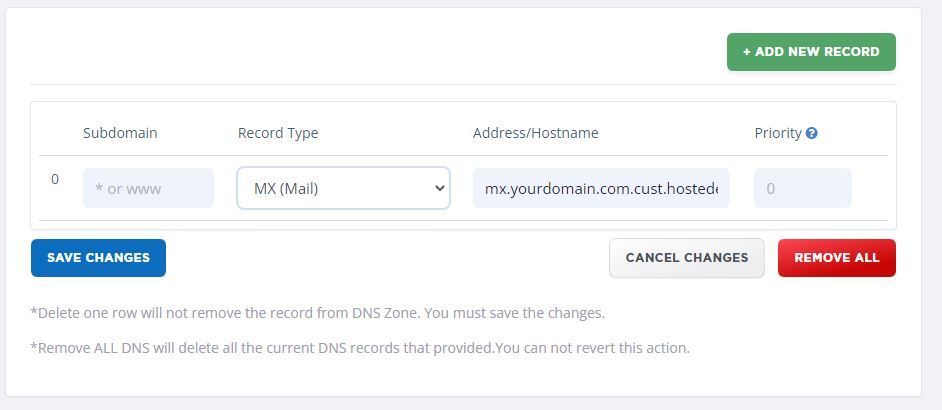
Remember to edit the address/hostname with your domain name. In my example it is empireword.com, so that will get replaced with yours.
Click on Save to let the changes take place.
Now you can test your webmail. Click on Compose, enter the recipient email address, and add the subject and the text. Click on Send.

You can choose your own email address in the recipient just to check if its working or not.
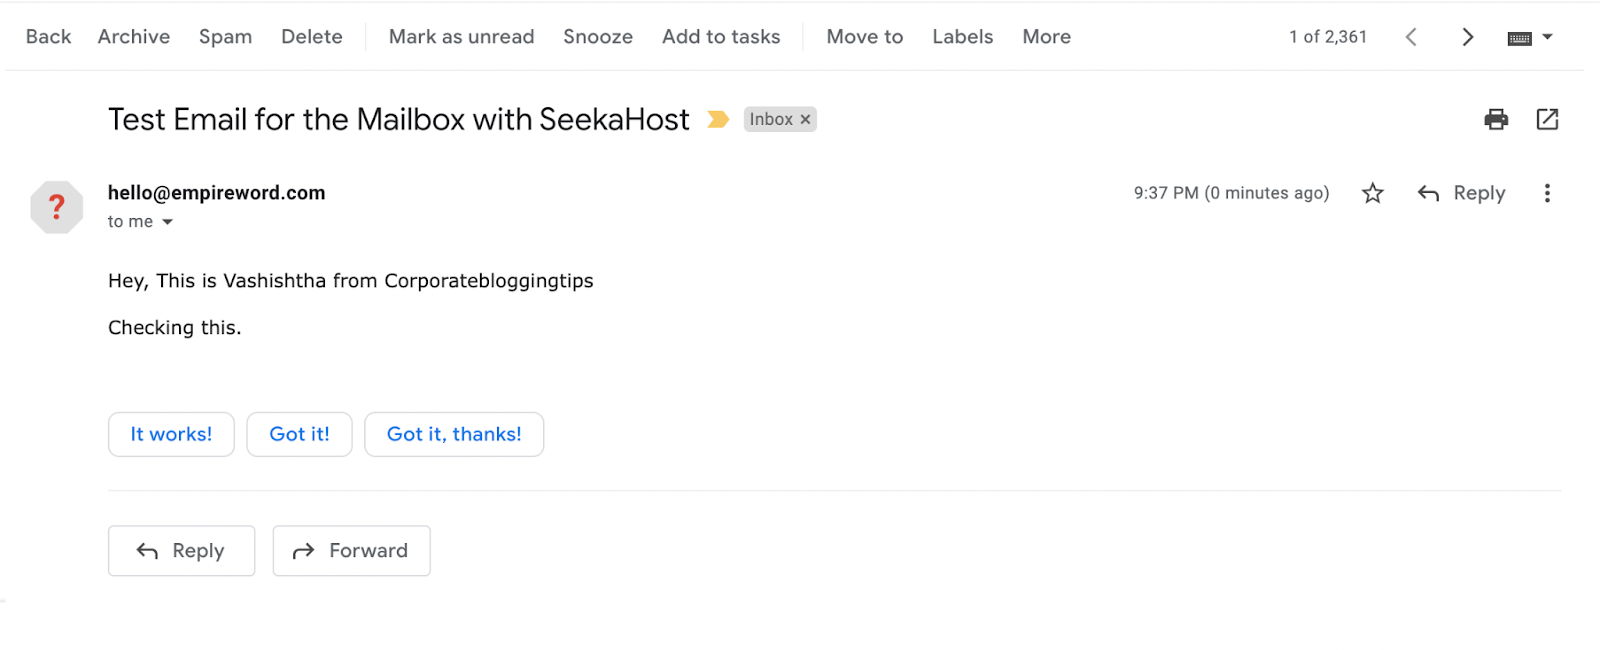
Now in the same email that you received, reply to that email to check if you receive email in your webmail.
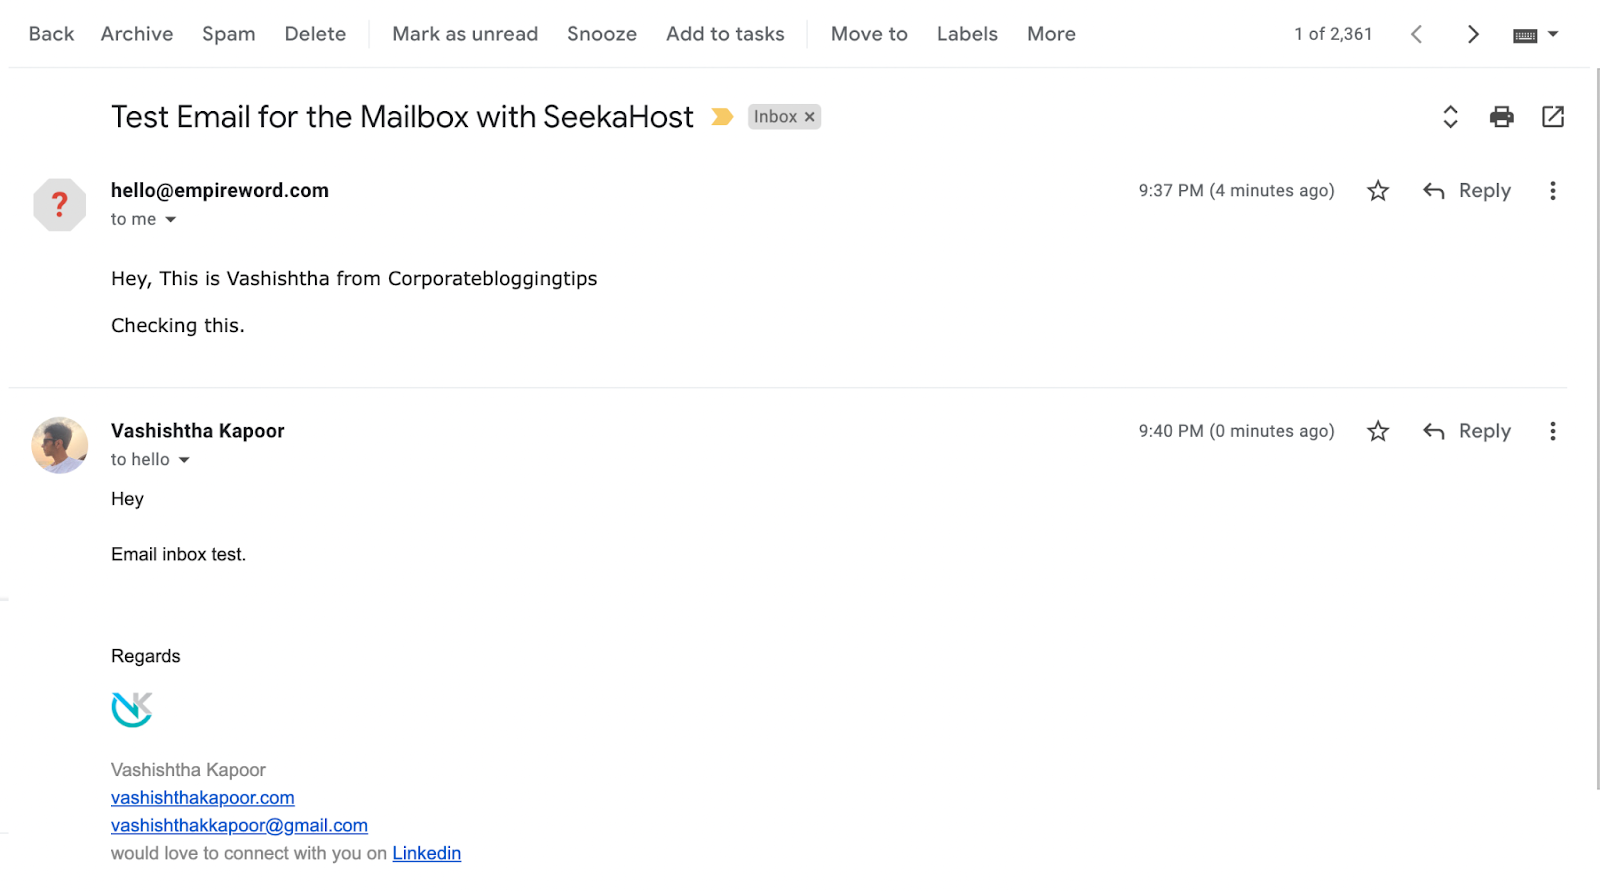
If you have received an email in your webmail hosted at SeekaHost.app, then your custom domain email is all set.
Setup Email in your iPhone Mailbox
Simply navigate to the Client Setup from the down arrow menu in your dashboard. (as shown in the screenshot below.)

The link will land you on the knowledge base article where you will have the required information. Follow the steps and configure it in your Mail app.
SeekaHost.app Email Hosting Plans
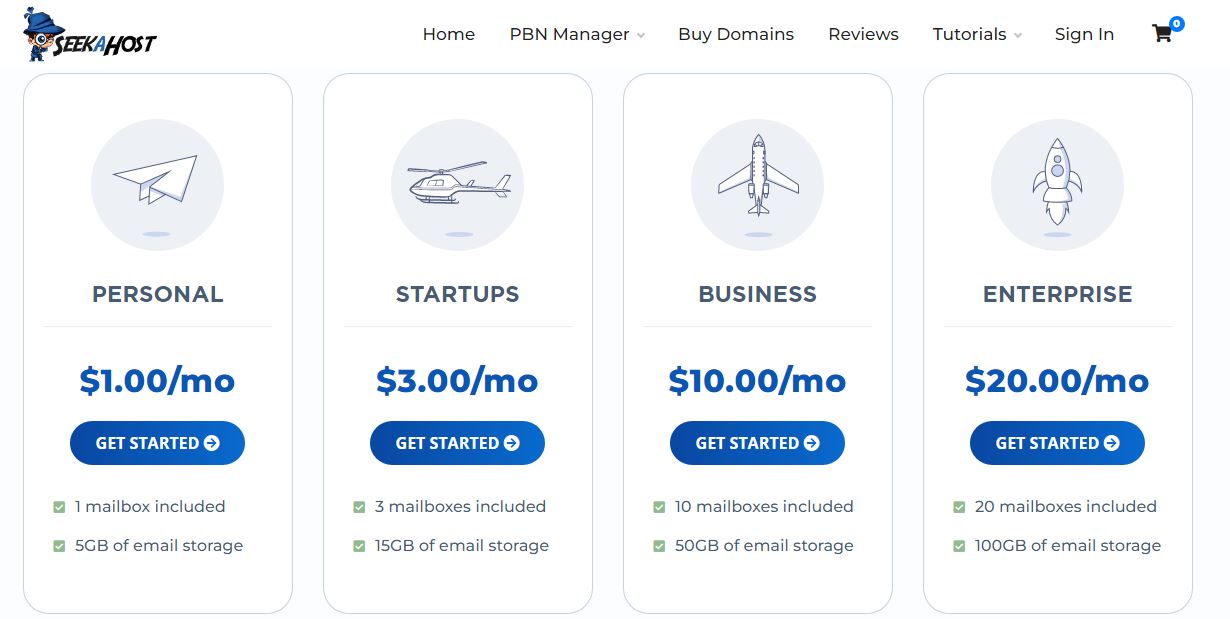
SeekaHost.app offers the cheapest email hosting service starting at $1 per month. You can choose from four different email hosting plans.
The cheapest one is the Personal plan starting at $1 per month with one mailbox included. The plan offers 5 GB of storage space.
For more mailboxes and storage space, you can choose the Startup, Business, or Enterprise plan.
If you have a single domain, then the Personal plan is sufficient.
Why Choose SeekaHost.app cheapest email hosting service?
- The custom domain email setup is easy.
- Starting at $1, it is the cheapest email hosting service.
- A customized domain email address gives your brand a unique identity.
- Select the storage space and number of mailboxes as you like.
- Private and secure emails.
- Ads free email experience.
One-click domain registration, WordPress and SSL activation inside the SeekaPanel.
- You can integrate your custom domain email address with other email providers like Outlook.
Conclusion
I hope this tutorial on creating a custom domain email address via SeekaHost was helpful. If at any step you are unable to proceed, then you ask me and I would be happy to help you out.


![TablePlus Review [year]: Features, Pricing, Pros & Cons](https://myappleguide.b-cdn.net/wp-content/uploads/2025/07/TablePlus-Review-Features-Pricing-Pros-Cons-150x150.webp)


![How to Become a Successful Vlogger in [year]](https://myappleguide.b-cdn.net/wp-content/uploads/2023/10/How-to-Become-a-Successful-Vlogger-in-year.webp)
