In 2026, live streaming on iPhones is easier and more accessible than ever before thanks to advancements in technology and the availability of various apps and platforms.
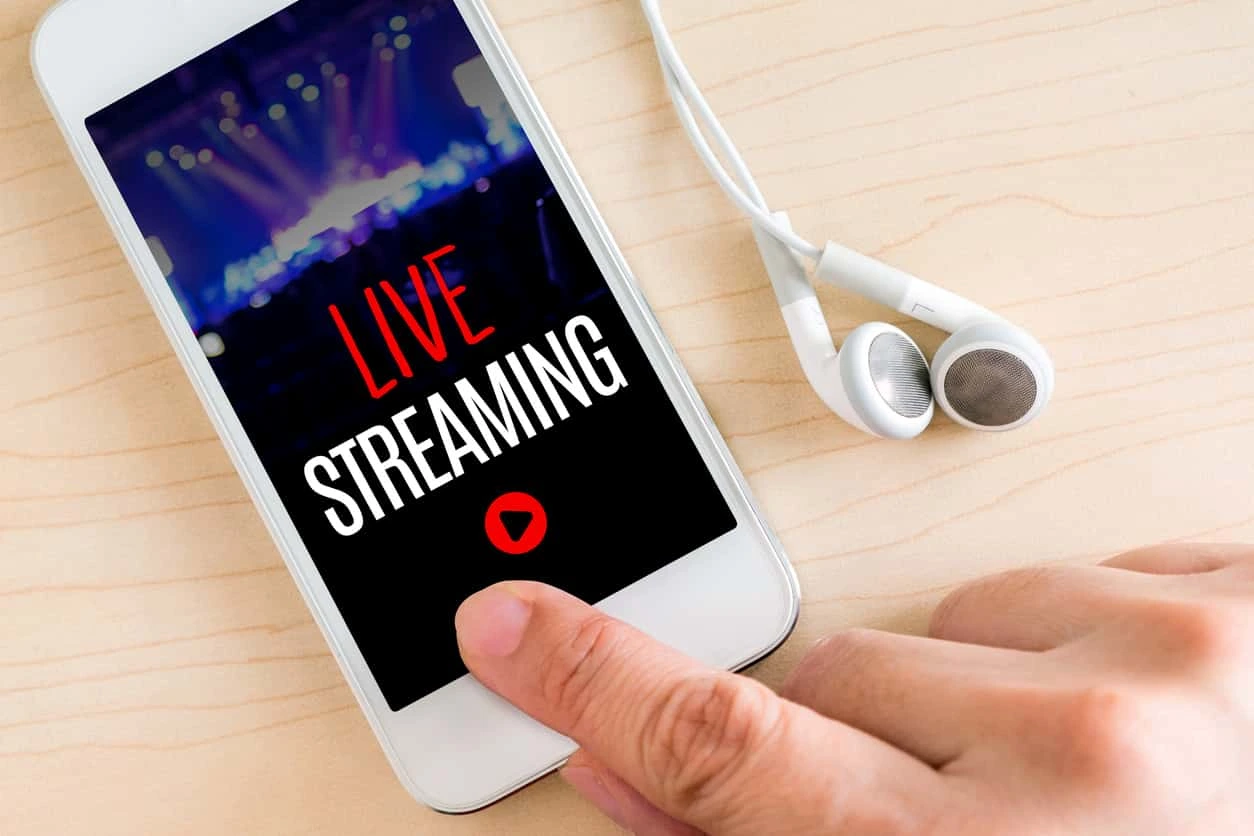
Remember that the specific steps and features may vary slightly depending on the platform and app updates, so it’s a good idea to familiarize yourself with the platform’s documentation or support resources for the most up-to-date information. Additionally, you may want to use additional equipment, such as a tripod or external microphone, to enhance the quality of your live stream.
Step by Step Guide to do Live Stream on iPhones
Prepare Your iPhone
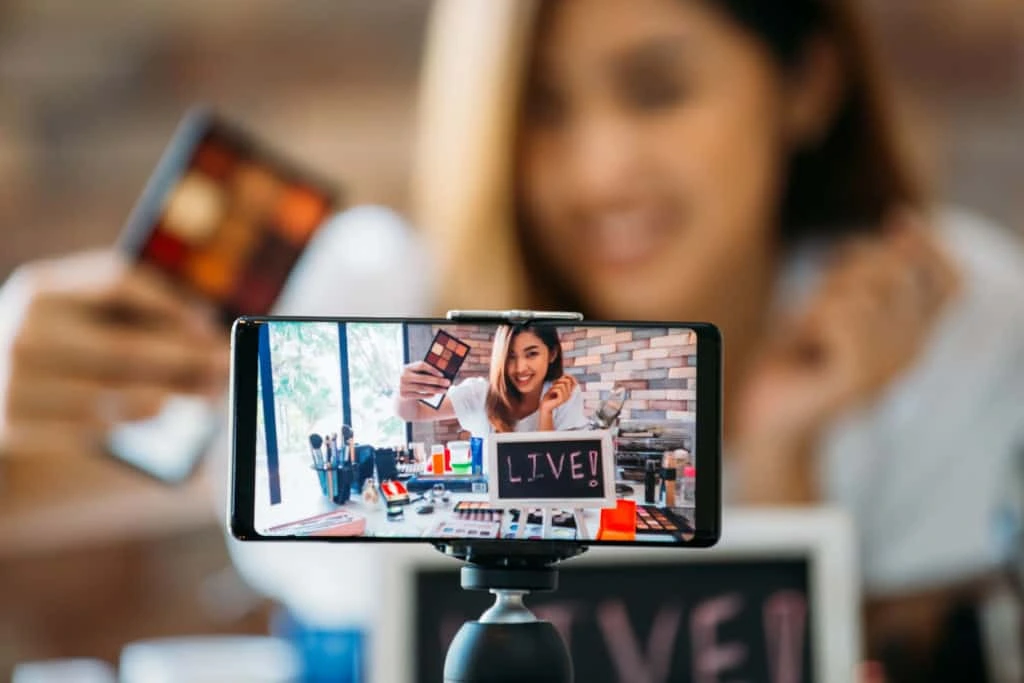
Preparing your iPhone for a live stream in detail involves ensuring that your device is optimized for the best possible streaming experience.
You’ll be well-prepared for a successful live stream on your iPhone, with high-quality video and audio to engage your audience effectively. Remember to consider the specific requirements and guidelines of the streaming platform you plan to use, as they may have additional recommendations for optimal streaming quality.
1. Check Network Connection
- Ensure you have a stable and high-speed internet connection. A Wi-Fi connection is usually preferable, as it’s more reliable than cellular data. If using cellular data, make sure you have a strong signal.
2. Clear Storage Space
- Delete unnecessary apps, photos, and videos to free up storage space on your iPhone. Streaming can consume a significant amount of data, so having ample storage is crucial.
3. Close Background Apps
- Close any background apps running on your iPhone to free up processing power and RAM. Double-click the Home button (or swipe up from the bottom on iPhones without a Home button) and swipe away any open apps.
4. Update Apps and iOS
- Ensure that both your streaming app and iOS are up to date. App and system updates often include bug fixes and performance improvements.
5. Enable Do Not Disturb
- Turn on Do Not Disturb mode to prevent incoming calls, messages, and notifications from interrupting your live stream. You can find this option in the Control Center or Settings app.
6. Disable Screen Auto-Lock
- To prevent your iPhone screen from dimming or locking during the stream, go to Settings > Display & Brightness > Auto-Lock and select “Never” temporarily.
7. Use a Stable Mount or Tripod
- Invest in a stable mount or tripod to keep your iPhone steady during the stream. This reduces shakiness and improves the overall video quality.
8. External Microphone (Optional)
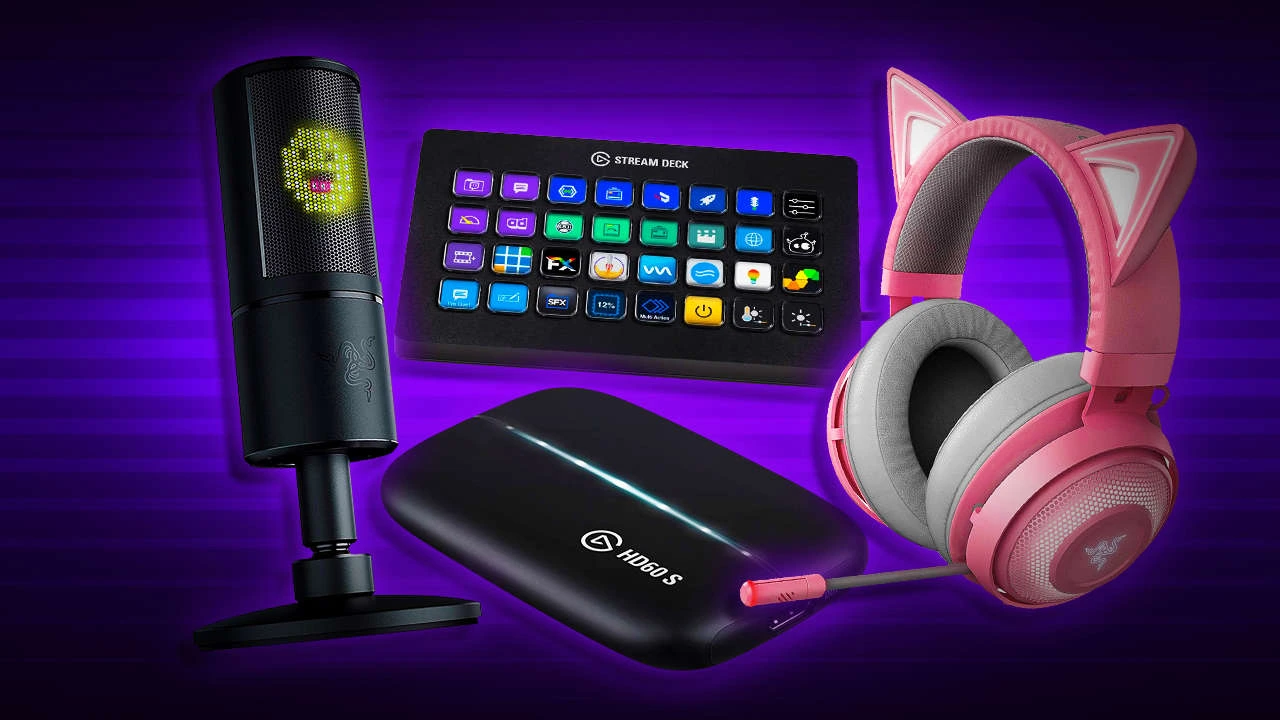
- Consider using an external microphone if you require better audio quality. There are various options available, including wired and wireless microphones that connect to your iPhone’s lightning port.
9. Clean the Camera Lens
- Ensure your iPhone’s camera lens is clean and free from smudges or dirt. Use a microfiber cloth to gently clean the lens.
10. Set the Camera Settings
- Open the Camera app and tap the gear icon (Settings) to access camera settings. Adjust settings like exposure, white balance, and focus to ensure optimal video quality.
11. Do a Test Stream
- Before going live to your audience, consider doing a private or unlisted test stream to check the video and audio quality. You can use the same platform you plan to stream on but set it to a private or unlisted setting so only you can see it.
12. Charge Your iPhone
- Make sure your iPhone is fully charged or connected to a power source to ensure it doesn’t run out of battery during the live stream.
13. Position Lighting
- Ensure you have adequate lighting in your streaming location. Good lighting can significantly improve video quality.
Choose a Live Streaming Platform
Choosing a live-streaming platform for your iPhone depends on your specific goals, target audience, and content type. There are several popular platforms to consider, each with its own unique features and audience.
When choosing a live streaming platform for your iPhone, consider the type of content you plan to create, your target audience, and your goals for engagement and monetization. You can also explore multiple platforms simultaneously to diversify your reach and cater to different audiences. Keep in mind that platform popularity and features can change over time, so it’s a good idea to research the latest updates and trends to make an informed decision.
1. YouTube Live

- Ideal for a wide range of content, including vlogs, tutorials, gaming, and events.
- Offers a large and diverse audience.
- Provides monetization options for eligible creators.
- Requires a YouTube channel.
2. Facebook Live

- Great for connecting with friends and family or reaching a broad social network audience.
- Allows for real-time engagement with viewers.
- Offers integration with Facebook groups and pages.
3. Instagram Live
- Perfect for sharing moments and engaging with your Instagram followers.
- Provides a more casual, personal feel.
- Limited to one-hour live streams.
4. Periscope (Twitter Live)

- Integrated with Twitter, making it easy to reach your Twitter followers.
- Offers real-time audience engagement.
- Simple to use for spontaneous or planned streams.
5. LinkedIn Live

- Suitable for professional and business-related content.
- Helps you reach a professional network.
- Requires an application and approval process to access live streaming.
Log in or Create an Account
To live stream on iPhones, you typically need to log in to your existing account on the live streaming platform of your choice or create a new account if you don’t have one.
1. Open the Live Streaming App
- Launch the app associated with the live streaming platform you want to use (e.g., YouTube Live, Facebook Live, Instagram Live, etc.). Make sure you have the app installed on your iPhone.
2. Log In to Your Existing Account
- If you already have an account on the platform, tap the “Log In” or “Sign In” option on the app’s welcome screen.
3. Enter Your Credentials:
- Provide your username or email address and password associated with your account.
- Some platforms also offer options to log in using social media accounts like Facebook or Google. Choose your preferred method and follow the prompts.
4. Verify Your Identity (if necessary):
- Depending on the platform, you may be asked to complete a verification step to confirm your identity. This could involve receiving a verification code via email or text message.
5. Access Live Streaming Features:
- After successfully logging in, you should have access to the live-streaming features of the app. You can create, schedule, or join live streams as per your preferences.
6. Create a New Account (if necessary):
- If you don’t have an account on the platform, tap the “Sign Up” or “Create Account” option on the app’s welcome screen.
7. Provide Registration Information:
- Fill out the required registration information, which typically includes your name, email address, password, and sometimes additional profile information.
8. Verify Your Account (if necessary):
- Some platforms may require you to verify your account through email or phone verification. Follow the instructions provided to complete the verification process.
9. Set Up Your Profile (if necessary):
- Customize your profile by adding a profile picture, bio, and any other relevant details.
10. Access Live Streaming Features
- Once you’ve created an account and logged in, you should have access to the live-streaming features within the app.
11. Start Your Live Stream
- After logging in or creating an account, you can proceed to set up and start your live stream following the platform’s specific guidelines.
Step to do Live Stream on iPhones
1. Choose a Live Streaming Platform
- Decide which platform you want to use for your live stream. Popular options include YouTube Live, Facebook Live, Instagram Live, and more.
2. Download and Install the App
- Go to the App Store on your iPhone and download the app associated with your chosen live-streaming platform if you haven’t already.
3. Configure Live Stream Settings
In this step, you’ll configure various settings for your live stream, including:
- Title: Give your live stream a descriptive and engaging title.
- Description: Add a brief description of your live stream to provide context.
- Privacy Settings: Choose whether your stream will be public, private, or limited to specific friends or groups (platform-dependent).
- Tags/Hashtags: Add relevant tags or hashtags to help your livestream reach a wider audience.
- Camera Selection: Choose between the front and rear cameras on your iPhone.
- Enable/Disable Comments and Reactions: Decide whether you want viewers to comment and react during your stream.
- Additional Settings: Explore other settings, such as monetization options or advanced features offered by the platform.
4. Test Your Audio and Video
- Before going live, ensure your iPhone’s camera and microphone are working correctly. Adjust exposure, focus, and white balance if necessary.
5. Set Up Additional Features (if available)
- Depending on the platform, there may be additional features such as screen sharing, live chat moderation, or inviting guests to your stream. Configure these features as needed.
6. Choose Your Streaming Orientation
- Decide whether you want to stream in portrait or landscape mode based on your content and platform preferences.
7. Preview Your Stream (if available)
- Some platforms allow you to preview your live stream before going live. Use this feature to ensure everything looks and sounds good.
8. Start Your Live Stream
- When you’re ready to begin your live stream, tap the “Go Live” or “Start” button within the app.
Test Your Audio and Video

Testing your audio and video before starting a live stream on an iPhone is a crucial step to ensure your viewers have a good experience.
Once you’re satisfied with the quality of your audio and video, you can confidently start your live stream by tapping the “Go Live” or “Start” button within the app. Keep an eye on your audio and video levels during the live stream and be prepared to make adjustments if needed to ensure a smooth and enjoyable viewing experience for your audience.
1. Open the Live Streaming App
- Launch the live-streaming app you intend to use on your iPhone.
2. Login (if necessary)
- Log in to your account within the app if you haven’t already.
3. Set Up Your Live Stream
- Follow the steps outlined in the previous responses to configure your live stream settings, such as title, description, privacy settings, camera selection, and more.
4. Access the Camera and Microphone
Ensure the app has access to your iPhone’s camera and microphone. Most apps will request permission when you first use them, but you can also check this in your iPhone settings:
- Go to “Settings” on your iPhone.
- Scroll down and find the app you’re using for live streaming.
- Ensure that both the camera and microphone permissions are enabled.
5. Preview Your Stream (if available)
- Some live streaming apps allow you to preview your video and audio before going live. Look for a “Preview” or “Test” option within the app. This option may help you ensure everything looks and sounds good.
6. Adjust Camera Settings
- Open the camera settings within the app, if available, to make adjustments:
- Check the exposure, focus, and white balance to ensure good video quality.
- Make sure you’re positioned properly in the frame.
7. Test Your Microphone
- To test your microphone, you can record a short video or audio clip within the app and play it back to check the audio quality. Ensure you speak clearly and at an appropriate volume.
- Pay attention to background noise and adjust your environment if necessary.
8. Check Headphones or Earbuds (Optional)
- If you plan to use headphones or earbuds with a built-in microphone, connect them to your iPhone and test the audio quality.
- Make sure the microphone on the headphones is working correctly.
9. Monitor Audio Levels
- While testing your microphone, monitor the audio levels within the app. Ensure that the levels are not too low (inaudible) or too high (distorted).
10. Test Connectivity
- Before going live, ensure you have a stable internet connection. Test the Wi-Fi or cellular data to make sure it’s strong enough to support a live stream.
11. Record a Private Test Stream (Optional)
- Some platforms allow you to record a private test stream that only you can see. Use this feature to run a final check on video and audio quality.
12. Adjust as Needed
- If you encounter any issues with video or audio quality during testing, make necessary adjustments to your camera settings, microphone, or environment.
Go Live

Once you’re satisfied with your settings and everything is set up, tap the “Go Live” or “Start” button to begin your live stream.
Interact with Your Audience

During your live stream, you can interact with your viewers through comments, likes, and reactions. Respond to questions and engage with your audience to keep them interested.
1. Greet and Welcome
- Start your live stream with a warm greeting and welcome message. Acknowledge your viewers by name if possible.
2. Respond to Comments
- Monitor the chat or comment section in real time and actively respond to comments and questions from your audience. Address viewers by their usernames to personalize your responses.
3. Ask Questions
- Encourage audience participation by asking open-ended questions or conducting polls related to your content. This invites viewers to share their thoughts and opinions.
4. Give Shoutouts
- Offer shoutouts to viewers who are actively engaging with your stream. Mention their usernames and express your gratitude for their support.
5. Share User-Generated Content
- If viewers send you photos, artwork, or other content related to your stream, showcase it and give credit to the creators. This encourages viewers to contribute.
6. Conduct Q&A Sessions
- Dedicate time during your live stream for a Q&A session where you answer questions submitted by viewers. This helps build a deeper connection.
7. Respond to Feedback
- Listen to feedback from your audience and consider their suggestions or ideas. Demonstrating that you value their input can improve your relationship with viewers.
8. Use Interactive Features
- Take advantage of platform-specific interactive features such as stickers, emojis, and reactions to react to comments and engage visually.
9. Share Personal Stories
- Occasionally, share personal anecdotes or stories related to your content. This adds a personal touch and allows viewers to connect with you on a deeper level.
10. Conduct Live Challenges or Games
- Plan interactive challenges, games, or quizzes that viewers can participate in during the live stream. Offer small rewards or shoutouts for winners.
11. Collaborate with Viewers
- Invite viewers to join you as guests on your live stream, either through video calls or voice chats, to discuss topics or share their experiences.
12. Express Gratitude
- Regularly express your appreciation and gratitude for your audience’s support and presence in your live stream.
13. Stay Energetic and Enthusiastic
- Maintain a positive and energetic demeanor throughout your live stream to keep viewers engaged and entertained.
14. Address Trolls or Negative Comments
- Handle negative comments or trolls gracefully. Avoid engaging in arguments, and use moderation tools if necessary to remove or block disruptive users.
15. Encourage Subscriptions and Follows
- Encourage viewers to subscribe, follow, or like your content for future updates and notifications.
End the Live Stream
When you’re ready to end the stream, tap the “End” or “Finish” button. Most platforms will ask for confirmation before ending the broadcast.
1. Open the Live Streaming App
- If you’re not already in the live streaming app, open it on your iPhone.
2. Locate the “End” or “Finish” Button
- Most live streaming apps have a dedicated button or option to end the live stream. Look for a button labeled “End,” “Finish,” “Stop,” or something similar.
3. Confirm Your Decision
- Tap the “End” or “Finish” button. The app will typically ask you to confirm your decision to end the stream, as this action is irreversible.
4. Confirm and Wait for the Stream to End
- Confirm that you want to end the live stream by tapping “Yes” or a similar confirmation prompt. Depending on the platform, it may take a moment for the stream to finish.
5. Thank Your Audience
- Before ending the livestream, take a moment to thank your viewers for joining you. Express your appreciation for their support, comments, and engagement.
6. Provide Closing Remarks
- Use this time to provide any final thoughts, announcements, or information to your audience. Let them know when they can expect your next live stream or where they can find more of your content.
7. Wait for the Stream to Fully Conclude
- Ensure that you remain live for a few moments to allow your final remarks to be seen and heard by your audience. Some viewers may experience a slight delay, so don’t rush to end the stream immediately.
8. End the Live Stream
- After you’ve delivered your closing remarks, and you’re confident that your audience has heard them, you can go ahead and end the live stream. Tap the “End” or “Finish” button once more to confirm.
9. Save or Share the Stream (if desired)
- Depending on the platform, you may have the option to save your live stream to your profile or share it on social media for later viewing. Consider doing this to extend the life of your content.
10. Review Your Stream (optional)
- After the live stream ends, you can review the recorded broadcast to assess its quality, content, and audience engagement. Use this feedback to improve future live streams.
Save or Share Your Live Stream
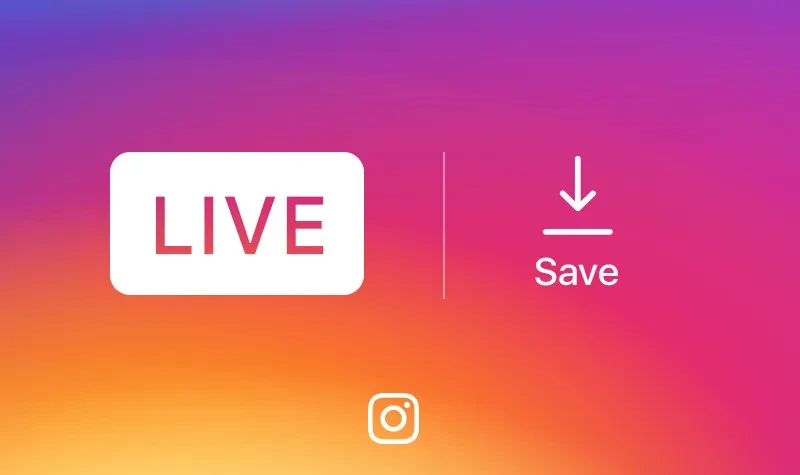
Depending on the platform, you may have the option to save your live stream to your profile or device. You can also share the stream on social media or other platforms to increase its visibility.
1. Timestamps
- While live streaming, make mental notes or have someone help you identify key moments or highlights during the broadcast.
2. Save the Entire Stream
- If possible, save the entire live stream as a video on the platform. This serves as a full record of your content for those who missed it.
3. Edit and Trim
- After the live stream has ended, consider editing and trimming the video to create shorter, more focused highlights. Many video editing apps or software can help with this.
4. Create Clips
- Some platforms, like Twitch, allow you to create clips during the live stream. These are short, shareable segments of the live stream.
5. Include Captions and Descriptions
- Add captions, descriptions, and titles to your saved or shared highlights to provide context and engage viewers.
6. Share on Social Media
- Share the highlights on your social media accounts to reach a wider audience. Include relevant hashtags and tags to increase discoverability.
7. Promote Upcoming Streams
- Use highlights to promote your future live streams, providing a sneak peek of what viewers can expect.
8. Create Playlists (YouTube)
- If you’re using a platform like YouTube, consider creating playlists to organize your live stream highlights by theme or topic.
9. Pin Highlights (Twitch)
- On Twitch, you can pin your best highlights to your channel for easy access by viewers.
10. Encourage Sharing
- Encourage your audience to share their favorite highlights from your live streams on their own social media, expanding your reach.
11. Promote On Other Platforms
- Share your live stream highlights on multiple platforms, not just the one you streamed on, to attract a diverse audience.
12. Collaborate with Influencers
- Partner with influencers or collaborators who can help promote and share your livestream highlights to their followers.
Analyze and Engage After the Stream

Review the analytics provided by the platform to understand your viewership and engagement. Consider engaging with comments and feedback even after the stream has ended.
1. Review Analytics
- Take time to analyze post-stream analytics provided by the platform. Look at metrics like viewership, peak viewers, total views, comments, and shares.
2. Evaluate Engagement
- Assess the level of engagement during the live stream, including the number of comments, reactions, and questions. Identify which moments garnered the most interaction.
3. Respond to Comments
- After the stream, go through the comments and respond to any questions, feedback, or interactions you may have missed during the live broadcast.
4. Express Gratitude
- Thank your audience for joining the livestream and participating in the discussion. Express appreciation for their support and contributions.
5. Address Unanswered Questions
- If there were questions or comments you couldn’t address during the live stream, take the opportunity to answer them in post-stream comments or in future streams.
6. Share Highlights
- Share highlights or memorable moments from the live stream on your social media accounts to engage with your audience and attract new viewers.
7. Collect Feedback
- Encourage viewers to provide feedback on the live stream. Ask what they liked, disliked, and what they’d like to see in future streams. Use this feedback to improve your content.
8. Promote Future Streams
- Announce and promote your upcoming live streams to keep your audience informed and engaged. Provide dates, times, and topics in advance.
9. Collaborate and Network
- Engage with other content creators, influencers, or collaborators who joined your stream. Building connections can help grow your audience.
10. Encourage Subscriptions and Follows
- Remind viewers to subscribe, follow, or like your content so they receive notifications for your future live streams.
11. Share User-Generated Content
- If viewers create content related to your live stream (e.g., fan art, memes), share it on your social media platforms and give credit to the creators.
12. Create a Post-Stream Recap
- Consider creating a post-stream recap video or blog post summarizing the key points discussed during the live stream. This can provide value to those who missed it.
13. Plan for Improvements
Use the feedback and analytics from your live stream to make improvements to your content, presentation, and engagement strategies for future streams.
14. Consistency is Key
- Maintain a consistent streaming schedule and engage with your audience regularly to build a loyal following.
15. Monitor Trends and Industry News
- Stay updated on trends and news in your niche or industry to ensure your content remains relevant and engaging.
FAQs
What do I need to start live streaming on my iPhone?
To start live streaming on your iPhone in 2023, you need a reliable internet connection, a live streaming app for your chosen platform (e.g., YouTube Live, Facebook Live), and an account on that platform.
Which live-streaming platforms can I use on my iPhone?
You can use various live streaming platforms on your iPhone, including YouTube Live, Facebook Live, Instagram Live, Twitch, Twitter/Periscope, and more.
How do I choose the right live-streaming platform?
Choose a platform based on your content, target audience, and goals. Consider factors such as audience size, discoverability, and monetization options when making your decision.
Can I live stream in portrait or landscape mode on my iPhone?
Yes, you can choose to live stream in portrait or landscape mode, depending on your content and platform preferences. Most platforms support both orientations.
Do I need any additional equipment to improve the quality of my iPhone live stream?
While the iPhone camera and microphone are sufficient for basic live streaming, you can enhance your stream’s quality with accessories like external microphones, tripods, and ring lights.
How do I test my audio and video before going live?
You can test your audio and video by recording a short clip within the live-streaming app and playing it back. Check for audio clarity, video quality, and any potential issues.
How do I interact with my audience during a livestream?
Engage with your audience by responding to comments, questions, and reactions in real time. Encourage participation, ask questions, and offer shoutouts to viewers.
Final words
In 2026, live streaming with your iPhone can be a fun and engaging way to connect with people. To get started, choose a platform that fits your content and audience. Make sure your iPhone is ready by checking its internet connection and camera. Set up your stream with a good title and description. During the stream, please talk with your viewers, answer their questions, and make them feel part of the show. When it’s time to finish, say thanks and press the “End” button.
After the stream, check how it did and talk with your viewers in the comments. You can also share the best parts of your stream with others. Don’t be afraid to try new things and learn from your audience. Keep up with what’s new on your platform, and you’ll have a great time live streaming with your iPhone in 2026!


![How to do Live Stream on iPhone in [year]](https://myappleguide.b-cdn.net/wp-content/uploads/2023/10/How-to-do-Live-Stream-on-iPhone-in-year.webp)


![TablePlus Review [year]: Features, Pricing, Pros & Cons](https://myappleguide.b-cdn.net/wp-content/uploads/2025/07/TablePlus-Review-Features-Pricing-Pros-Cons-150x150.webp)

